

Hello family!
I hope you are all doing well and having a safe day!
Wow! we are already in July. Just know that :
~~ Every new month is like a fresh piece of paper and only YOU decide what will be written on it.~~
So wishing you a happy new month!!
Today’s post is a fun DIY. I saw it on Stephaniablog ‘s YouTube channel, and I decided to give it a go. I tried to make it as simple as possible and included a lot of pictures just to show you every single step. It is easy. I did it with my sisters so it was much more fun.
When my friend came over, I offered her a flower. She was very happy when she found out the chocolate inside!! 😉 It also added a summery touch to my room.
If you are ready, let’s start!
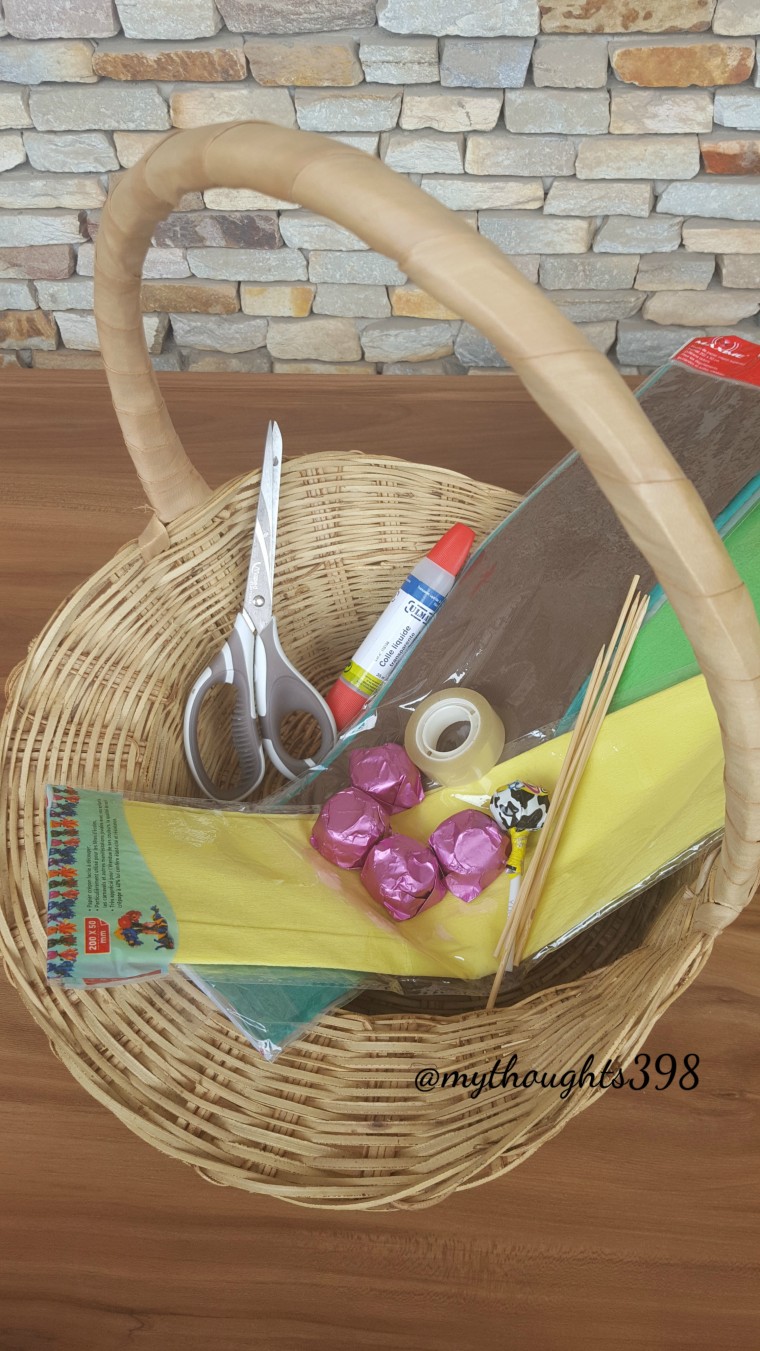
You will need:
- Crepe Paper ( I used the green, brown and yellow; but you can use whatever color you want).
- Chocolate balls (like Maltesers) or lollipops.
- scissors.
- Sellotape.
- Wooden stick skewers.

1- Cut your brown Crepe paper into rectangular shapes. Since I am making 5 flowers, I will cut 5 ones.


2- Put your chocolate/ lollipop in the middle, and wrap it with the pieces you just cut.

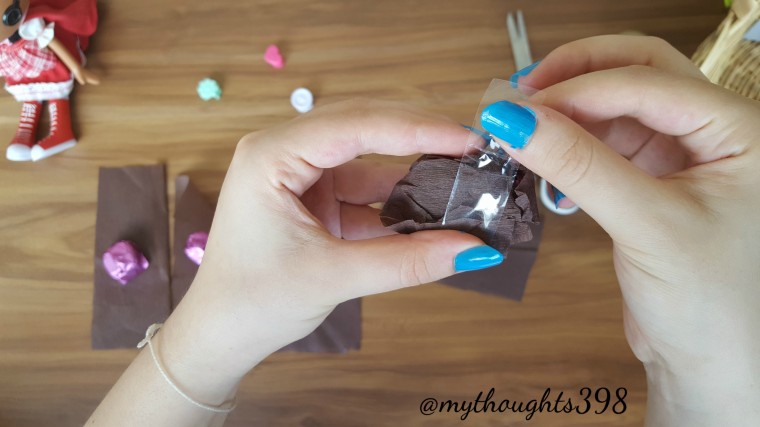
… You will get 5 mini balls.


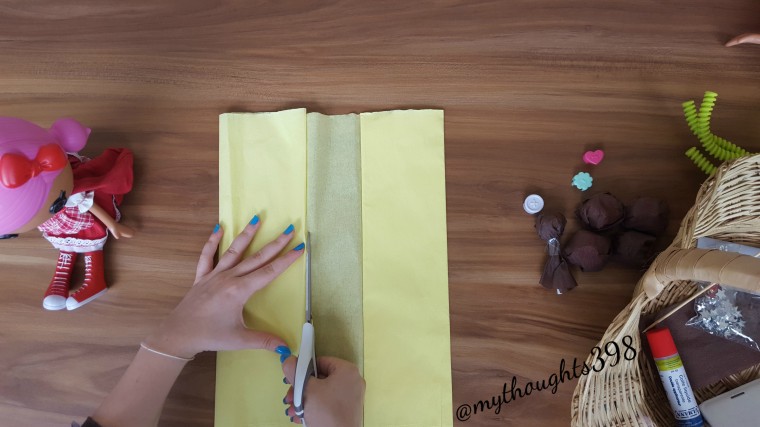
3- Fold your yellow crepe paper, for about 3 times, then cut it.
4- Now you are left with a long piece. The next step is to cut this piece into 5 equal pieces.
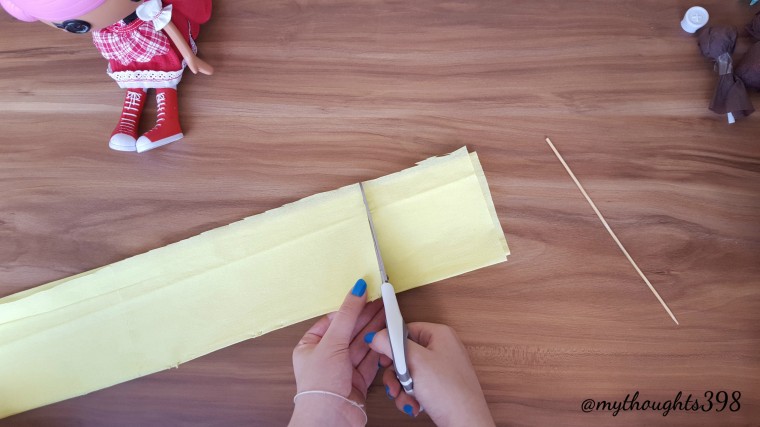

5- For each piece:
- Open it, completely.
- Re-fold it, but this time you have to fold it many times; you have to get more folds. ~~I folded mine 4 time in step 3 but 6 times in this step.~~
- Cut the top in triangles.

6- Open your yellow paper, then fold it in half.
7- Put the brown ball (chocolate) in the middle.
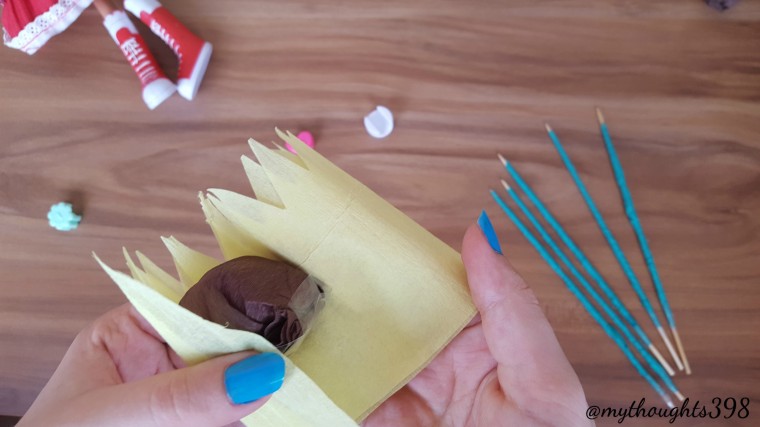
8- And with a sellotape, stick them together.

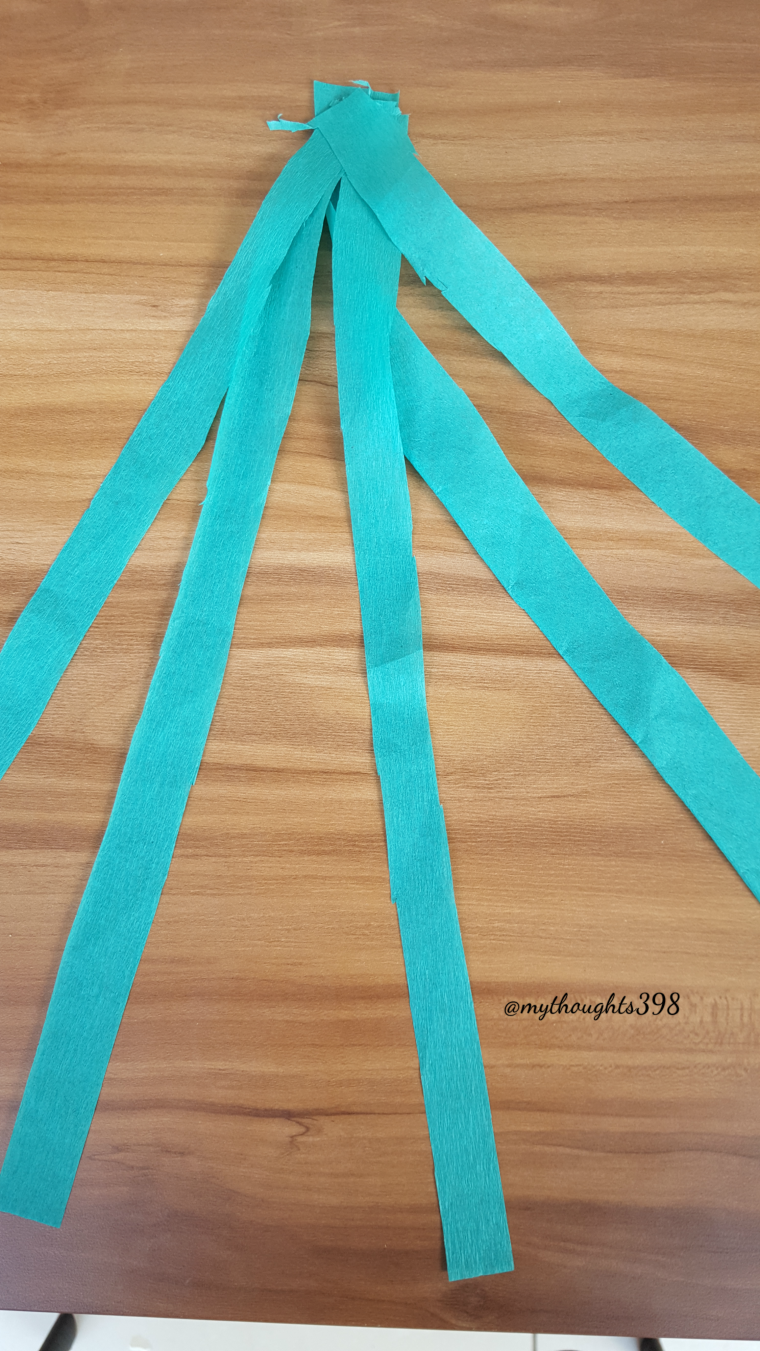
9- Cut your green paper into 5 equal long pieces.
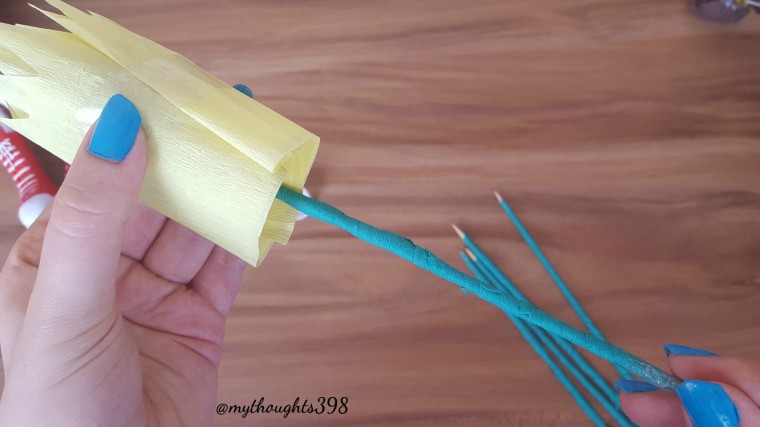
10- Wrap your wooden stick skewer with it.

11- Lastly, and with a sellotape, assemble all the parts ( the top of the flower and the wooden stick skewer) by sticking them together.
12- For the final touch: with your fingers, twist the flower leaves to give them a realistic look.
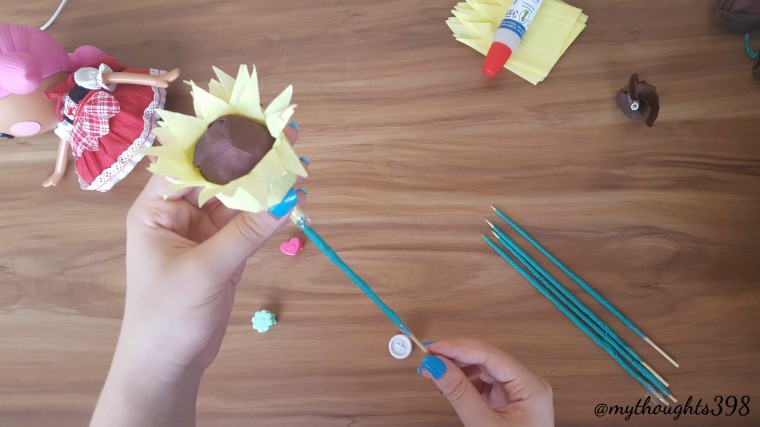
TADAAAAA
![20170625_153142[1]](https://mythoughts398.files.wordpress.com/2017/06/20170625_1531421.png?w=760)
![20170625_153218[1]](https://mythoughts398.files.wordpress.com/2017/06/20170625_1532181.png?w=760)
![20170625_153702[1]](https://mythoughts398.files.wordpress.com/2017/06/20170625_1537021.jpg?w=760)
Here you have it. I really hope you guys enjoyed this post. If you did please hit that like botton.
Now it is your turn: What is the best DIY you’ve ever made?
In case you didn’t get one of the steps: check out her YouTube channel by clicking here.
You can follow me on Pinterest, Instagram and my blog
(I always follow back) 🙂
xoxo ❤ ❤

Those are the cutes one, I have to do them with my girls. Thank you for sharing!
LikeLiked by 1 person
Oh thank youu. Hopefully you will enjoy making them too💗. Have a nice and safe day 🤗
LikeLike
You are so creative and talented…Absolutely love those flowers ❤
LikeLiked by 1 person
Thank you sweetie for the nice comment. So glad you liked them. Have a nice and safe day dear ❤😙
LikeLiked by 1 person
That’s actually a very nice idea! Especially for a girl, who is allergic to flowers for example, but loves chocolate.. why not combine those two 😀
LikeLiked by 1 person
Hahaha yes !!! So glad you liked it. Thank you for stopping by❤❤
LikeLiked by 1 person
Btw Thank you so much for the follow. It means the world. 🙈🙈❤❤❤❤❤❤
LikeLiked by 1 person
Ahh don’t worry, keep on blogging 😊🌸
LikeLiked by 1 person
Thank you. Sure I will do my best. And can’t wait to read more on your blog. Btw I can’t find you among my followers. Can you please check out why 🙈😙
LikeLike
I’m your 80th follower x
LikeLiked by 1 person
Oh thank you sweetie. I truly appreciate it. You made my day. You are now a very special follower 🤗😉❤
LikeLiked by 1 person
Oh my goodness – I love this craft!! So sweet and clever 😊 ❤ I wanted to let you know that I responded to your email about the logo design. Can’t wait to work with you!!
LikeLiked by 1 person
Awn thank you for your sweet comment❤. Really I didn’t see it. I am so excited to work with you too😙
LikeLiked by 1 person
My dear how can we communicate? Do you have Instagram 😉😋
LikeLiked by 1 person
Just email me at turtledeskblog@gmail.com. I already emailed you about the logo. 😊
LikeLike
Oh I didn’t receive it
LikeLiked by 1 person
Hmm. Could you send me your email?
LikeLike
Sure alyoubi443@gmail.com
LikeLiked by 1 person
Ok I’ll try it again. ❤️
LikeLiked by 1 person
Thank you ❤
LikeLiked by 1 person
Oh wow – these are adorable! I really love flowers . . . and chocolate! So combining the two is always a sure win for me 😉 Great little DIY – and your pictures made it really easy to follow too!xx
LikeLiked by 1 person
Oh this is the cutest comment. Very glad you liked it and find it easy to follow. Btw I loved your post very much. Can’t wait to read more.❤ 😍
LikeLiked by 1 person
Aw thank you so much lovely – I can’t wait to read more of your content either!❤
LikeLiked by 1 person
I followed you my dear❤
LikeLiked by 1 person
Hey, I nominated you for a sunshine blogger award check it out https://girlenters.wordpress.com/2017/07/01/the-sunshine-blogger-award/
LikeLiked by 1 person
WOW This is UNBELIEVABLE! You are the first person nominating me! And I truly appreciate it! Thank you so much ❤ ❤
LikeLiked by 1 person
You are welcome, you deserve it ❤️ looking forward to read more blogs from you x
LikeLiked by 1 person
So what does it mean being nominated? ❤
LikeLiked by 1 person
Read the post the rules are there 😜
LikeLiked by 1 person
Oh I can’t find your follow anymore 🙈 Can you please check out why ? Thank you sweetie .
https://mythoughts398.wordpress.com
LikeLike
These are so lovely! X
LikeLiked by 1 person
Thank you so much sweetie. Glad you liked it . ❤
LikeLike
That’s a really nice idea for a gift,loved the post ❤
LikeLiked by 1 person
Thank you so much! Glad you liked it.
LikeLiked by 1 person
These are really cool! You should consider adding a Pinterest button. I would totally save this to my “projects section!”
Keep up the hard work!
Alexis||https://lidsandtricks.com/
LikeLiked by 1 person
Oh thank you my dear ❤ Glad you liked it I will !!
LikeLiked by 1 person
Thank you so so much for following me. I really appreciate it 💗❤
LikeLiked by 1 person